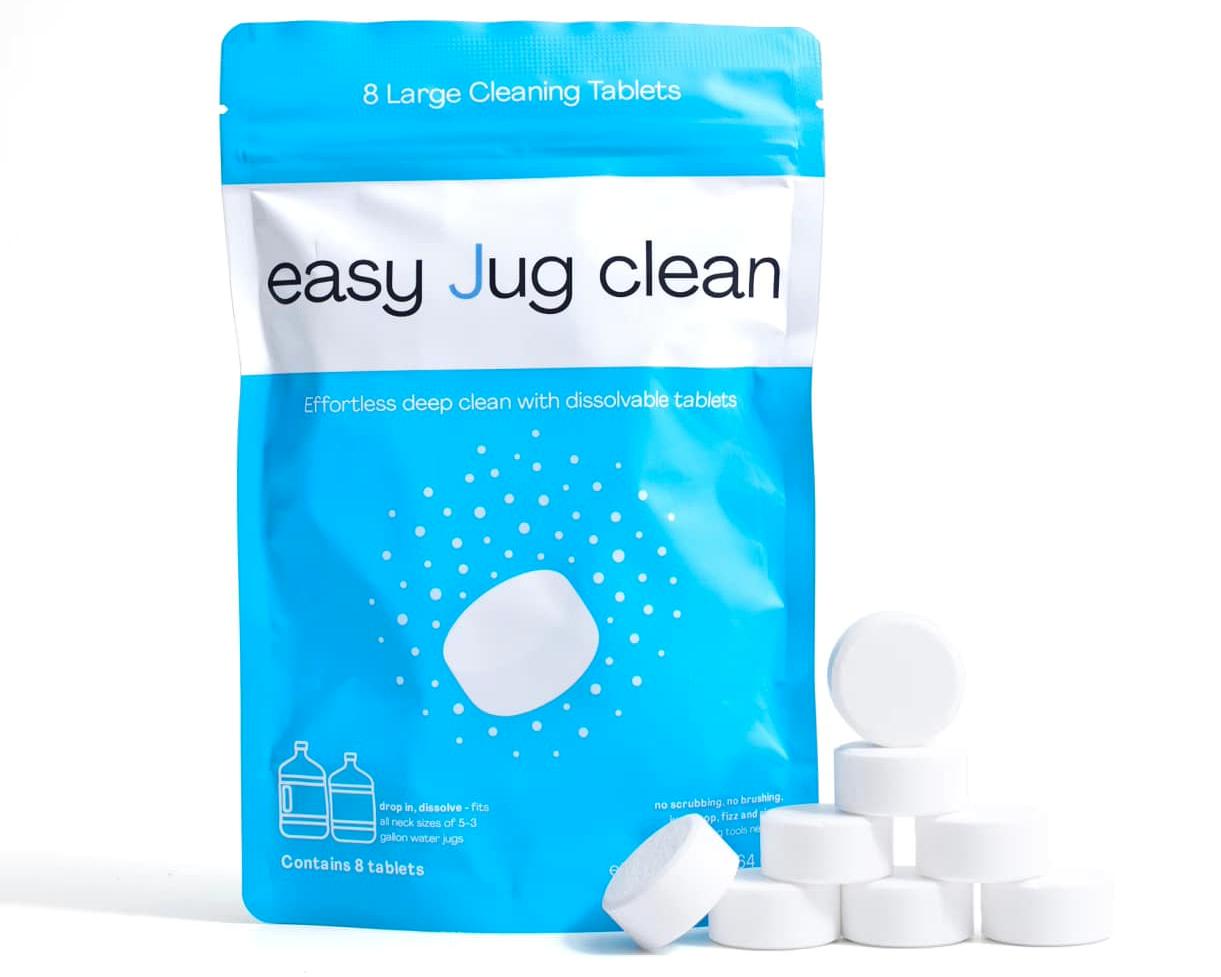
Don't Let a Dirty Dispenser Recontaminate Your Clean Water Jug
By the Easy Jug Clean Research Team
Home › Articles › Don't Let a Dirty Dispenser Recontaminate Your Clean Water Jug
Dispenser HygieneRecontaminationComplete System · Reading time: ~6 minutes
There's a frustrating pattern that many diligent jug-cleaners experience: they maintain a consistent weekly Easy Jug Clean treatment, and yet the jug still develops a taste, smell, or sliminess within a few days of each treatment. The jug cleaning is working perfectly. The problem is what the jug is sitting on. Starting with a properly cleaned jug is the right first step, but if the dispenser is contaminated, a clean jug won't stay clean once it's seated.
The Three Recontamination Pathways
🔴
Pathway 1: The Probe and Seating CollarThe probe — the component that punctures the jug's foil seal and allows water to flow from jug to dispenser — is in direct physical contact with the jug neck at every installation. Any bacteria colonizing the probe exterior transfer directly to the freshly cleaned jug neck interior at the moment of installation. If the probe has been exposed to previous contaminated jugs without cleaning between them, it carries a cumulative bacterial load that inoculates each new jug.
🔴
Pathway 2: The Internal ReservoirWater flows from the jug through the probe into an internal reservoir — a sealed holding chamber that maintains 0.5–2 liters of water at all times. This reservoir's interior walls accumulate biofilm just like the jug does, and because it's never cleaned in most households, it may harbor months or years of established biofilm. Water flowing from the reservoir back toward the jug (during pressure equalization, dispenser operation, or thermal expansion) carries reservoir bacteria directly into the fresh jug environment.
🔴
Pathway 3: Aerosol and Drip Tray Splash-BackEvery dispense event releases a small aerosol of water droplets around the nozzle and drip tray. If the drip tray contains standing contaminated water (which it will if not emptied daily), drip-back and aerosol carry bacteria from the tray onto the dispenser exterior and up toward the jug seating area. While this is a lower-volume pathway than the probe contact, it contributes to the general bacterial environment the freshly cleaned jug is installed into.
The Timeframe: How Fast Recontamination Happens
Bacterial transfer from a contaminated probe to a clean jug surface occurs at installation — within seconds of physical contact. Initial biofilm attachment on the jug surfaces begins within 2 hours of installation. By 24 hours, the jug's bacterial profile is significantly influenced by the contamination brought in from the dispenser — potentially accelerating the contamination cycle to 3–4 days instead of the 5–7 days that would occur with a clean probe and reservoir.
This is the mechanism behind the "my jug gets dirty faster than the recommended cleaning interval" experience. The cleaning interval is calibrated to environmental contamination from air and water sources. It's not calibrated to handle the concentrated bacterial load from a dispenser component that hasn't been cleaned in months.
The Complete System Fix
✅
At every jug change: wipe the probe and seating collarThis is the single highest-impact habit in this list. Every time a jug is changed — which is also typically when the previous jug was cleaned — wipe the probe exterior and seating collar with a food-safe sanitizing wipe before placing the new jug. This interrupts the probe-to-jug bacterial transfer at the moment it would otherwise occur. Time: 15 seconds.
✅
Daily drip tray emptyRemove, empty, and rinse the drip tray every day. Standing water in the drip tray should be treated as a contamination zone — it is permanently moist, receives droplets from every dispense, and is positioned directly below the dispensing point. Daily emptying takes 15 seconds and eliminates the drip-back pathway entirely.
✅
Weekly exterior spigot wipeWipe all spigot exterior surfaces — lever, nozzle tip, and surrounding panel — with a food-safe sanitizing wipe on the same schedule as the weekly jug treatment. Coordinate these as a single 25-minute session: start the jug soak with Easy Jug Clean tablets, spend 30 seconds wiping the dispenser exterior, go do something else for 20 minutes, come back and rinse the jug.
✅
Quarterly internal reservoir cleaningEvery three months, perform the complete internal reservoir cleaning protocol with dissolved Easy Jug Clean solution — unplug the dispenser, drain the reservoir, soak with 2-tablet solution, dispense through spigots to treat internal tubing, rinse twice with clean water, replace with freshly treated jug. This is the hardest protocol in the system and the most commonly skipped — and it's the one that most dramatically addresses the recontamination pathway that defeats weekly jug cleaning alone.
✅ The integrated system result: A clean jug installed onto a clean probe, flowing through a clean reservoir, dispensed through clean nozzles into a clean drip tray — this is the system that produces genuinely clean water at the glass. Each component contributes a contamination source if unmaintained. Easy Jug Clean handles the jug and the reservoir cleaning with the same product and the same chemistry. The probe wipe, the drip tray, and the nozzle take under a minute of additional effort per week to address. The complete system is achievable — it just requires treating it as a system rather than isolated tasks.
Watch Easy Jug Clean dissolve scale and odor buildup in a single 20-minute treatment:
✅ Clean Jug. Clean Dispenser. Clean Water. One Integrated System.