Inside Your Water Dispenser: The Internal Reservoir Most People Never Clean
Reading time: ~7 minutes | Water Dispenser Internal Reservoir Deep Cleaning
The Anatomy of a Water Dispenser's Water Pathway
How water moves from your jug to your glass
The 5 Gallon Jug
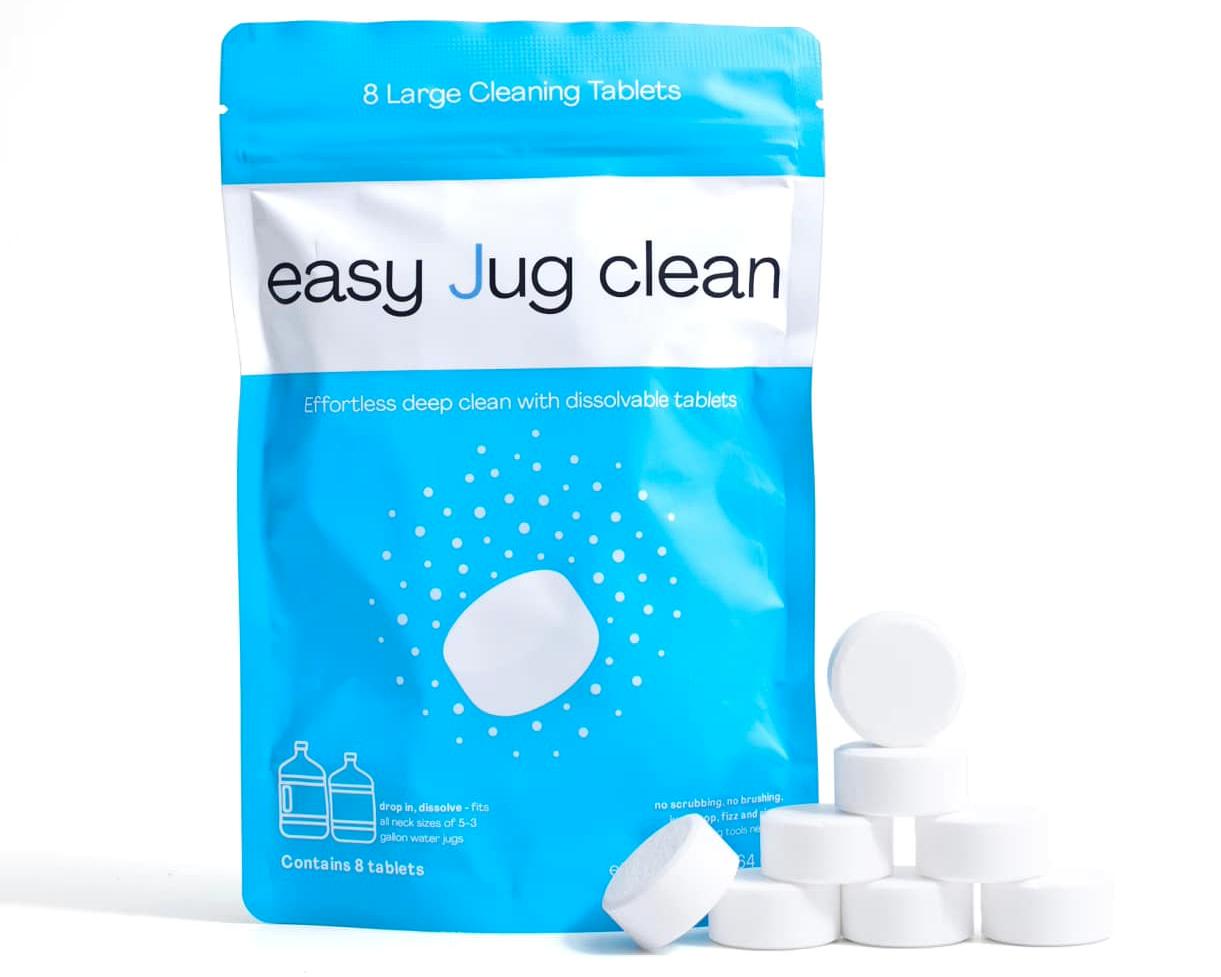
The primary water source. Sits inverted on the dispenser collar, feeding water downward by gravity into the machine's water pathway. Cleaned by Easy Jug Clean weekly.
The Probe and Seating Collar
The probe punctures the jug's foil seal when placed on the dispenser. Water flows from the jug down through the probe into the internal pathway. The probe's outer surface contacts the jug neck and accumulates bacteria at every jug change.
The Internal Reservoir — The Overlooked Component
A sealed or semi-sealed holding chamber inside the dispenser body that holds 0.5–2 liters of water at any given time between the jug and the spigots. In heated/cooled dispensers, this is also where the heating element or cooling coil operates. The walls of this reservoir are in permanent contact with water — and are never exposed to the cleaning treatments applied to the jug.
The Spigot and Nozzle System
The final water pathway before the glass. Water from the reservoir passes through internal tubing to the spigot and out through the nozzle. The spigot exterior is the highest-touch contamination point; the nozzle interior is a permanently moist enclosed surface.
Why the Internal Reservoir Is a Contamination Accumulator
The internal reservoir has every characteristic that makes a surface prone to biofilm accumulation: permanent moisture, enclosed environment limiting air circulation, consistent temperature (often elevated in room-temperature or hot dispensers), and no exposure to any regular cleaning chemistry. Water from the jug flows through continuously, introducing whatever bacteria are present in the jug water — including any dispersed cells from the jug's own biofilm cycle.
In a dispenser that has been in use for more than a few months without reservoir cleaning, the internal reservoir walls almost certainly have established biofilm. That biofilm continuously disperses bacteria into every glass of water dispensed through the machine — regardless of how clean the jug itself is. A perfectly maintained jug feeding into a contaminated reservoir produces contaminated water.
How to Clean the Internal Reservoir — Step-by-Step
The exact process varies slightly by dispenser model, but the core protocol applies to the vast majority of countertop and freestanding 5 gallon water dispensers. Perform this cleaning every 3 months minimum, or monthly if the dispenser is in a warm location or high-use household.
Unplug the dispenser and remove the jug
All dispenser cleaning should be performed with the unit unplugged. Remove the jug and set aside. If the dispenser has a baffle (a float valve that prevents reservoir overflow), check your model's documentation for whether it needs to be removed before cleaning.
Drain the reservoir completely via the drain valve
Most dispensers have a drain valve at the back or base — a small plug or valve that, when opened, empties the internal reservoir. Open it and drain all standing water into a container. If no drain valve is present, dispense water through the spigots until the reservoir is empty. Discard all drained water.
Prepare the Easy Jug Clean sanitizing solution
Dissolve 2 Easy Jug Clean tablets in 1 liter (approximately 1 quart) of warm water (95–105°F / 35–40°C) in a separate container. Allow to fizz completely before use — approximately 3–5 minutes. The dissolved solution should be clear with a faint effervescent action still occurring.
Pour the solution into the reservoir via the jug collar opening
Pour the dissolved solution directly into the dispenser through the top opening (where the jug normally sits). The solution will fill the internal reservoir. Replace the drain valve/plug if you opened it in Step 2. Allow to soak for 20–30 minutes — the same contact time as the jug treatment protocol. The active oxygen will reach all reservoir wall surfaces in contact with the solution.
Dispense the solution through the spigots
After soaking, press and hold the spigot levers/buttons to dispense the sanitizing solution through the spigot pathway — this sanitizes the internal tubing and the nozzle channel simultaneously. Dispense until the reservoir is empty. This step simultaneously treats three system components: reservoir walls (via soak), internal tubing (via flow-through), and nozzle channel (via dispense).
Rinse the reservoir twice with fresh water
Pour 1 liter of clean room-temperature water into the reservoir via the jug collar. Dispense fully through the spigots. Repeat once more. Two full rinse cycles ensures that the sanitizing solution breakdown products are flushed from the water pathway before the unit returns to service.
Wipe accessible surfaces, replace jug, and replug
Wipe the probe and seating collar with a food-safe sanitizing wipe. Place a freshly Easy-Jug-Clean-treated jug on the dispenser. Replug the unit and allow temperature to restabilize before dispensing drinking water (typically 15–30 minutes for heated/cooled units).
Matching Reservoir Cleaning Frequency to Dispenser Type
Heated dispensers (with hot water function) are slightly lower risk for bacterial growth in the hot water reservoir — elevated temperatures inhibit bacterial growth. The cold water reservoir and room-temperature pathway sections still require quarterly cleaning. Room-temperature-only dispensers (bottom-loading or countertop models without heating/cooling) should be cleaned every 3 months at minimum. Dispensers in kitchens above 75°F / 24°C on a regular basis benefit from monthly reservoir cleaning given the accelerated bacterial growth rates at those temperatures.
Watch Easy Jug Clean dissolve scale and odor buildup in a single 20-minute treatment:
✅ Clean the Jug. Clean the Reservoir. Complete Coverage.
Easy Jug Clean works for both — the same active oxygen chemistry that sanitizes your jug treats the internal reservoir and spigot pathway in the same quarterly protocol.
Frequently Asked Questions
Q: My dispenser doesn't seem to have a drain valve. How do I empty the reservoir?
Most dispensers have a drain valve — check the back and base of the unit carefully, as they are sometimes covered by a small rubber plug or appear as a simple screw cap. If genuinely absent, dispense water through the spigots until no more flows, then proceed with the protocol. Some reservoir water will remain, but the sanitizing solution poured in will dilute and treat it.
Q: Is it safe to use Easy Jug Clean in the hot water reservoir?
Yes — perform the reservoir cleaning with the unit unplugged and cooled. Do not attempt to sanitize a reservoir that is still at heating-element temperature. The active oxygen chemistry is compatible with the materials used in dispenser reservoirs (stainless steel, food-grade plastic, and silicone tubing) at the temperatures involved in the cleaning protocol.