cleaning 5 gallon water jug routine for water dispensers

The Complete Water Dispenser Sanitizing Routine (Jug, Spigots, Reservoir, and Tray)

Reading time: ~8 minutes Β |Β  Complete Routine Dispenser System All Components

Cleaning your jug is necessary. Cleaning only your jug is not sufficient. A complete 5 gallon water dispenser system has four distinct contamination zones β€” the jug, the spigots and nozzles, the internal reservoir, and the drip tray β€” each with its own contamination dynamics and its own cleaning frequency requirement. This article is a single-reference guide to the complete system: every component, every interval, every step, with time estimates so you can plan realistically.

The System at a Glance

Four Components. Three Cleaning Intervals. One Product.

Component Primary Contamination Risk Cleaning Interval Active Effort
πŸ«™ 5 Gallon Jug Biofilm, mineral scale, odors Weekly ~5 min
🚰 Spigots & Nozzles Hand contact bacteria, nozzle biofilm Weekly exterior / Monthly interior 1–5 min
πŸ’§ Internal Reservoir Biofilm on permanently wet surfaces Quarterly (monthly in warm climates) ~15 min active
πŸͺ£ Drip Tray Standing water, mold, bacteria Daily empty / Weekly deep clean 2–5 min

Component 1: The 5 Gallon Water Jug β€” Weekly

πŸ«™ 5 Gallon Jug Treatment

Every 7 days ⏱️ 5 min active / 20 min total
1
Fill jug halfway with warm water (95–105Β°F / 35–40Β°C). Warm water activates the tablet chemistry faster and improves active oxygen release rate.
2
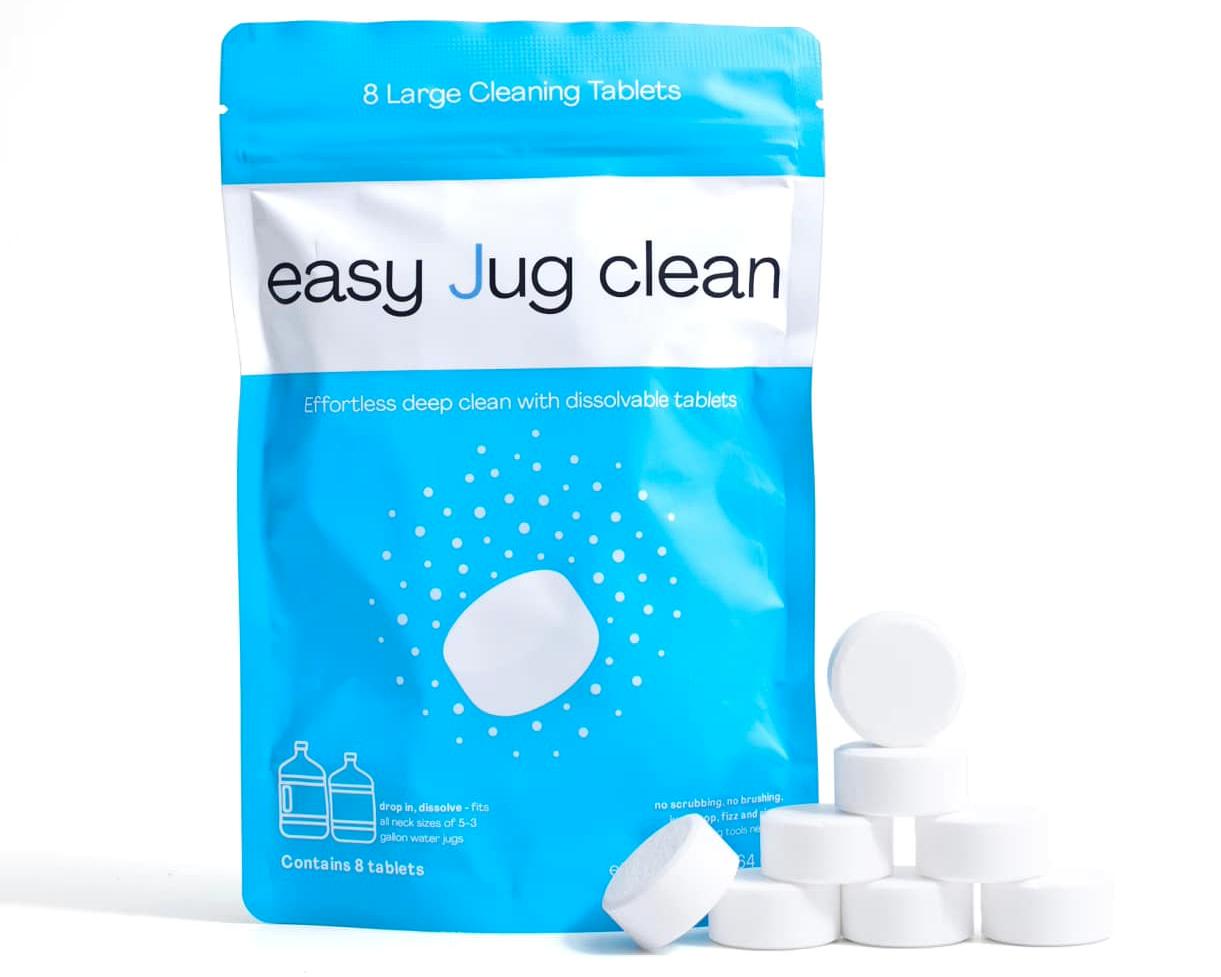
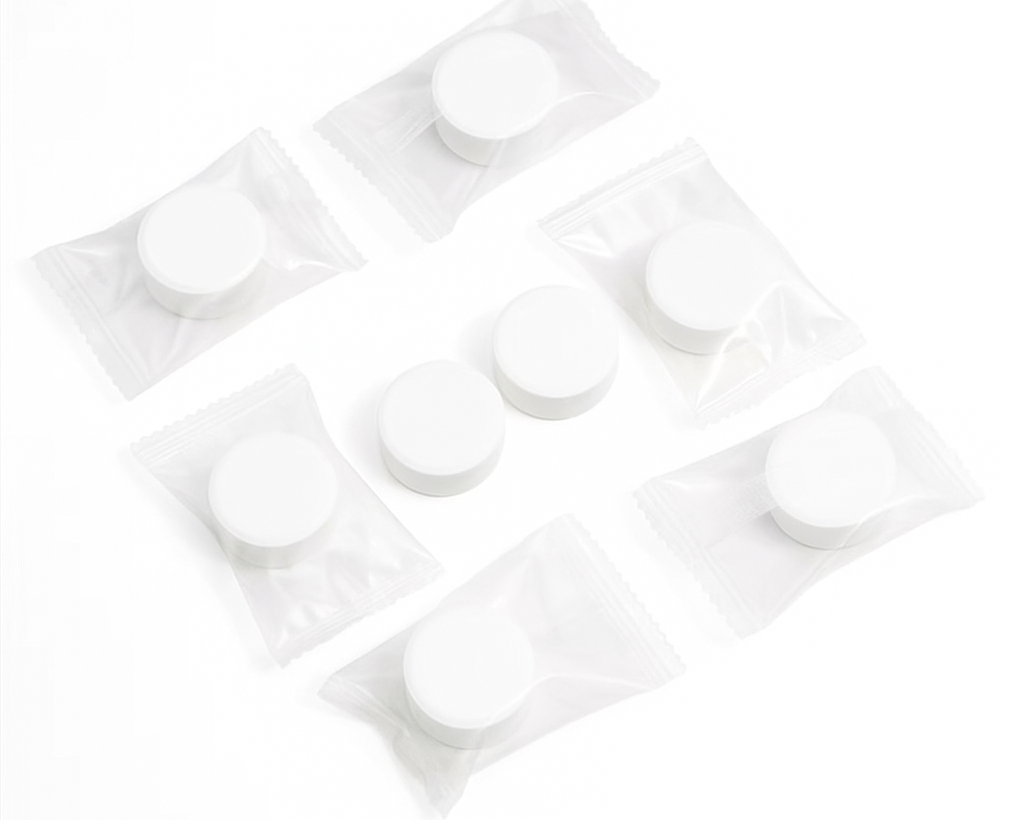
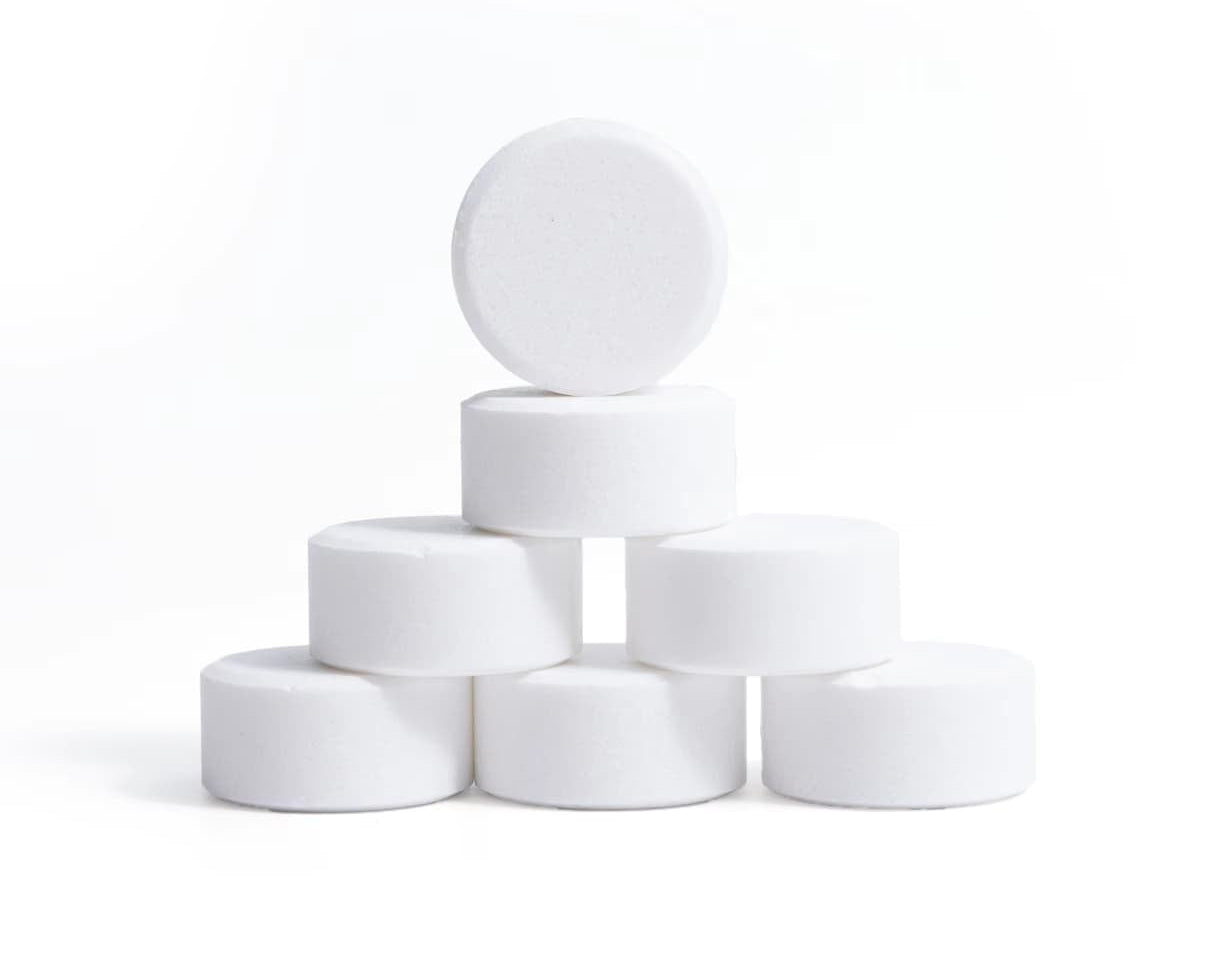
Drop 2 Easy Jug Clean tablets directly into the jug through the neck. Allow full effervescence β€” approximately 3–5 minutes of active fizzing indicates correct chemistry activation.
3
Soak for 20–30 minutes. At the 10–15 minute mark, rotate the jug slowly so the shoulder zone (below the neck) is submerged. The effervescent action continuously agitates the solution across all interior surfaces.
4
Empty and rinse 2–3 times with clean water. Invert the jug over a clean surface and allow to air dry for 60+ minutes before refilling or capping.
5
Visually inspect before replacing on dispenser. Hold to light and check for remaining cloudiness (scale remaining) or slippery walls (biofilm remaining). If either present, run a second treatment before returning to use.

Component 2: Spigots and Nozzles β€” Weekly / Monthly

🚰 Spigot Exterior β€” Weekly

Every 7 days (daily wipe recommended) ⏱️ 1–2 min
1
Wipe all exterior spigot surfaces β€” lever or push-button, nozzle exterior (including tip), and 2-inch radius of surrounding panel β€” with a food-safe sanitizing wipe. Allow to air dry rather than wiping off, to maximize contact time.
2
Wipe the probe and seating collar at every jug change. This is the junction between the jug and the dispenser's water pathway β€” a contamination conduit if not maintained regularly.

πŸ”¬ Nozzle Interior β€” Monthly

Every 30 days ⏱️ 3–5 min active / 20 min total
1
For removable nozzles: Remove the nozzle per manufacturer instructions. Dissolve 1 Easy Jug Clean tablet in a small cup of warm water. Submerge nozzle and soak 20 minutes. Rinse thoroughly, dry, and replace.
2
For fixed nozzles: Dissolve 1 tablet in a cup of warm water. Using a syringe or turkey baster, inject solution into the nozzle opening. Allow 5 minutes contact. Dispense through the lever fully to flush. Follow with 2 glasses of fresh water dispensed to clear residue.

Component 3: Internal Reservoir β€” Quarterly

πŸ’§ Internal Reservoir Deep Clean β€” Quarterly

Every 3 months (monthly in warm conditions) ⏱️ 15 min active / 50 min total
1
Unplug the dispenser and remove the jug. Allow unit to cool if it has a heating function. All reservoir cleaning is performed with the unit unplugged.
2
Drain the reservoir completely via the drain valve (typically at the back or base of the unit). If no drain valve, dispense through spigots until empty. Discard all drained water.
3
Dissolve 2 Easy Jug Clean tablets in 1 liter of warm water in a separate container. Allow full dissolution (3–5 minutes) before pouring.
4
Pour the solution into the reservoir via the top opening (jug collar). Replace the drain valve if opened. Soak for 20–30 minutes β€” the active oxygen treats all reservoir wall surfaces in contact with the solution.
5
Dispense the solution through the spigots by pressing the levers/buttons until the reservoir is empty. This simultaneously sanitizes the internal tubing and nozzle channels via flow-through contact.
6
Rinse twice: Pour 1 liter of clean room-temperature water into the reservoir, dispense fully through spigots. Repeat once. Two rinse cycles ensures all sanitizing solution residue is cleared from the pathway.
7
Wipe the probe and seating collar, replace a freshly treated jug, replug the unit. Allow temperature to restabilize (15–30 minutes for heated/cooled units) before dispensing drinking water.

Component 4: Drip Tray β€” Daily / Weekly

πŸͺ£ Drip Tray β€” Daily Empty and Weekly Deep Clean

Empty daily / Deep clean weekly ⏱️ 15 sec daily / 5 min weekly
1
Daily: Remove the drip tray, pour out standing water, rinse briefly under the tap, pat dry, replace. Standing water in the drip tray is a bacterial growth zone positioned directly beneath the dispensing point β€” daily emptying prevents it from becoming a contamination source.
2
Weekly deep clean: Remove the tray and grid (if present). Scrub all surfaces with a cleaning brush and rinse thoroughly. Check the corners and underside of the grid for mold (dark spots). For any visible mold or heavy discoloration, soak in dissolved Easy Jug Clean solution for 15 minutes, rinse, dry.
3
Allow to dry completely before replacing whenever possible. A dry drip tray inhibits bacterial growth between uses; a continuously wet tray provides constant growth conditions.

Putting It All Together: Your Annual Cleaning Calendar

A complete dispenser hygiene system on an annual basis looks like this: 52 weekly jug treatments (5 min active each), 52 weekly spigot exterior wipes (1 min each), 12 monthly nozzle interior treatments (5 min each), 4 quarterly reservoir deep cleans (15 min active each), and 365 daily drip tray empties (15 sec each). Total annual active effort: approximately 6–7 hours spread across the year. For a household's primary drinking water supply, that is a genuinely modest investment.

βœ… One product for the entire system: Easy Jug Clean handles every component in this routine. Weekly jug treatment uses the standard 2-tablet protocol. Monthly nozzle treatment uses 1 tablet dissolved in a small cup. Quarterly reservoir cleaning uses 2 tablets dissolved in 1 liter. The same food-grade active oxygen chemistry, the same safety profile, the same cleanup, across all four components. You don't need separate products for the jug, the reservoir, and the nozzle β€” one formulation is designed to do all three.

Β 

Watch Easy Jug Clean dissolve scale and odor buildup in a single 20-minute treatment:

Β 

βœ… One Product. Four Components. A Complete Water System.

Easy Jug Clean's food-grade active oxygen formula handles every part of your dispenser hygiene routine β€” from the weekly jug soak to the quarterly reservoir deep clean.

β†’ Get Easy Jug Clean β€”

Frequently Asked Questions

Q: Do I need to clean the reservoir if I change my jug every week and the jug is always clean?

Yes. The reservoir accumulates its own biofilm independently of the jug. Even water from a perfectly clean jug introduces trace bacteria into the reservoir on every fill, and the warm, permanently moist reservoir environment allows colonies to establish on the reservoir walls between jug changes. The jug treatment addresses jug contamination; it does not reach the reservoir walls. Both require independent treatment on their respective intervals.

Q: How do I know when my dispenser reservoir needs cleaning if I can't see inside it?

Schedule cleaning on the calendar rather than waiting for visible or olfactory signals. By the time you can smell or taste reservoir contamination in your water, the biofilm has been well-established for weeks. Quarterly cleaning on a scheduled basis prevents contamination from reaching detectable levels.

Related Reading


Back to blog