Cleaning Mold From the Bottom Curve of a 5 Gallon Water Jug
Cleaning Mold From the Bottom Curve of a 5 Gallon Water Jug
Reading time: ~5 minutes | Bottom Curve Mold Removal Hard-to-Reach Areas
Why Mold Concentrates in the Bottom Curve
Three structural features of a 5-gallon water jug make the bottom curve a mold-favorable zone:
Sediment Settles There
Particulate matter from source water — minerals, trace organic material, microscopic debris — settles to the bottom under gravity. Over days and weeks, this builds up a thin sediment layer that provides anchor and nutrients for biofilm formation. Mold spores landing on this biofilm have an established substrate ready for colonization.
Water Dwells Longest There
As a jug empties through normal use, the upper portion of the water column is dispensed first. The bottom water has been in the jug longest, has had the most time for stagnation effects, and has accumulated the most contamination. The water just above the bottom curve is consistently the most "aged" water in the jug.
The Curvature Traps Moisture After Drying
When the jug is drained and inverted for drying, the curved bottom shape causes residual water to pool in the inner curve before it can fully drain. This residual moisture stays in place for hours after the rest of the jug appears dry. The drying geometry creates a moist micro-environment exactly where contamination concentrates.
Why No Brush Reaches the Bottom Curve Effectively
A standard long-handled bottle brush, inserted through the narrow neck of a 5-gallon jug, can reach down toward the bottom — but the brush head is forced flat against the deepest point of the bottom rather than swept along the curved surface. The transition zone where the cylindrical wall meets the curved bottom (the "shoulder of the bottom") receives essentially no brush contact at all.
The Self-Distributing Solution Approach
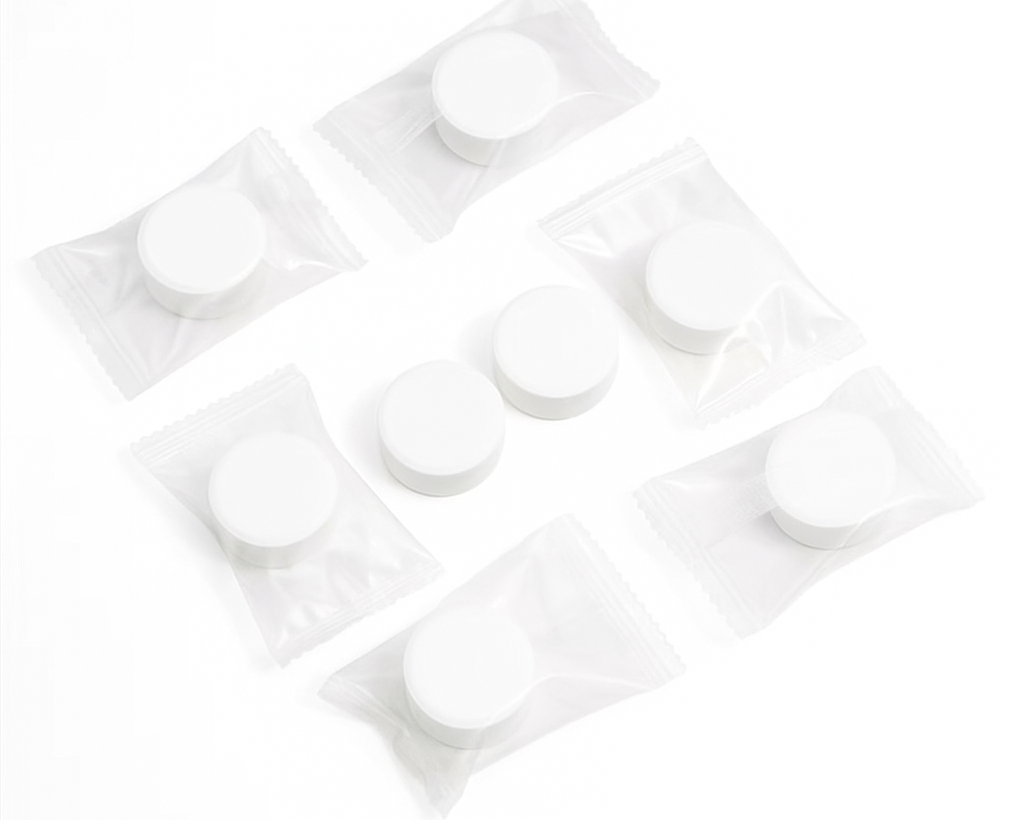
What the brush can't do, dissolved cleaning chemistry can. When Easy Jug Clean tablets dissolve in warm water inside the jug, the resulting solution conforms to every interior contour — including the curved bottom and the bottom shoulder. The active oxygen, chelating agents, and surfactants are present at active concentration across every square inch, with no zones excluded by geometry.
The fizzing reaction during the first few minutes after the tablets are dropped in actively distributes the solution by generating bubbles that move solution across surfaces. The fizzing reaches surfaces brushes can't touch, including the bottom curve where mold concentrates.
The Specific Protocol for Bottom-Curve Mold
For mold visible specifically in the bottom curve area, use this slightly modified protocol:
- Empty the jug fully and let it stand inverted for 15 minutes to drain residual water from the bottom curve. Skip the pre-rinse — you don't want to disturb the mold colony before the active treatment.
- Stand the jug upright and fill with warm water (40–50°C) to about 1/3 full. The lower water level concentrates the cleaning solution at the bottom where the contamination is.
- Drop 2 Easy Jug Clean tablets in. The fizzing concentrates at the bottom because that's where the tablets sit while dissolving. The active concentration in the bottom curve is highest at the start of the cycle.
- After 5 minutes, swirl the jug gently to distribute the solution to the upper walls without diluting the bottom concentration too much.
- After 15 minutes, fill with additional warm water to fully half-fill the jug, and swirl again to ensure the upper walls are reached.
- Soak for the full 30 minutes total. The bottom curve has been receiving treatment for the longest portion of the cycle.
- Empty and rinse three times. For bottom-curve mold specifically, the third rinse is important — sediment that may have been dislodged needs to be flushed out fully.
- Air-dry inverted at a 30-degree angle rather than straight down. The angle allows residual water to flow out of the bottom curve rather than pool there.
Why This Modified Protocol Works for Bottom Mold
The standard cleaning protocol fills the jug halfway from the start, distributing the cleaning chemistry across the full interior. That works well for general maintenance and for mold distributed across multiple zones.
For bottom-curve mold specifically, starting with less water concentrates the active chemistry where the contamination actually is. The active oxygen acts at higher local concentration on the bottom mold for the first 15 minutes, achieving deeper penetration into hyphae embedded in any sediment or biofilm at the bottom. Adding more water at the 15-minute mark then ensures the rest of the jug receives standard treatment.
✅ Reach the Mold Zone Brushes Can't
The bottom curve is mold's favorite zone in a water jug. Easy Jug Clean's active oxygen reaches it through chemistry rather than mechanics. Two tablets, 30 minutes, with the modified protocol for bottom-specific contamination.
FAQ: Bottom-Curve Cleaning
Q: Should I shake the jug during the soak to help the solution reach the bottom?
Gentle swirl is fine. Vigorous shaking can splash the solution out through the neck and reduces the contact time at the bottom. The fizzing action provides enough distribution without manual agitation.
Q: I see sediment in the bottom of my jug — is that mold or just sediment?
Loose particles that move when the jug is tilted are sediment. Anchored colored spots that stay in place during tilting are mold or biofilm. Differential diagnosis covers this. The cleaning treatment handles all three contamination types.
Q: How can I confirm the bottom is fully cleaned without seeing inside?
Hold the jug up to bright light from below — daylight or a flashlight aimed up through the bottom. The bottom curve becomes more visible from this angle than from looking down through the neck. Visible spots after cleaning indicate incomplete treatment; absence of spots is your confirmation.
The Bottom Line
The bottom curve of a 5-gallon jug is where mold concentrates and where no mechanical cleaning method effectively reaches. Self-distributing chemistry is the only approach that works at this geometry, and a slightly modified protocol — concentrated start, then full distribution — handles bottom-specific contamination most effectively. The pillar guide walks through the standard protocol; this article covers the bottom-curve adjustment.


 Order now — get it by