How to Test If Your Water Cooler Jug Is Genuinely Clean
Reading time: ~6 minutes | Testing Clean Jug Verification Water Cooler Hygiene
How to Test If Your Water Cooler Jug Is Genuinely Clean
The Limits of "Knowing" Your Jug Is Clean
After you've invested time in cleaning your water cooler jug, it's natural to want verification. Is it actually clean? Did you do enough? Can you trust drinking from it?
The uncomfortable answer: your senses can tell you a lot about surface cleanliness, but they can't prove microbiological safety.
That said, sensory tests are still valuable. They catch obvious problems and give you confidence about basic hygiene. The key is understanding exactly what each test reveals—and what it misses.
The 5-Point Sensory Test for Jug Cleanliness
Test 1: The Smell Test
What it checks: Volatile organic compounds and microbial metabolic byproducts.
How to do it: Smell the interior of the jug after filling it with water. A clean jug should have no odour—just water. Any smell, even faint ones (musty, plastic-y with chemical overlay, sour, funky) indicates something is wrong.
What it means: Odour typically develops when bacteria have established biofilm and are producing volatile compounds. By the time you smell something wrong, contamination has been growing for several days. This is a late-stage detection test.
What it misses: Dangerous bacterial counts without odour (E. coli, early Legionella biofilm). Many pathogens produce no detectable smell, even at dangerous levels. A good-smelling jug is not proof of safety.
Test 2: The Visual Inspection
What it checks: Cloudiness, visible particles, biofilm coating, and mould growth.
How to do it: Look through the clear jug at a bright light. The water should be completely transparent with no cloudiness, particles, or visible film on the interior walls. No black spots, no green tint, no slime coating.
What it means: Clear water and clean-looking walls indicate absence of advanced microbial colonies and visible particle contamination.
What it misses: Early-stage biofilm (first 5–10 days of contamination), bacteria-only contamination without biofilm, sub-visible bacterial counts, spores embedded in microscopic surface irregularities, and toxic byproducts. A perfectly clear jug can harbour dangerous bacterial populations.
Test 3: The Tactile Test (Surface Coating)
What it checks: Biofilm and slime layer buildup on the jug's interior.
How to do it: Run a clean, wet finger or soft cloth along the interior wall of the jug. It should feel smooth and slippery with just water—not slicker than normal or with a fuzzy, slimy coating. No sticky residue, no roughness from biofilm settlement.
What it means: A smooth plastic surface indicates absence of established biofilm (which creates a characteristic slimy, sticky sensation).
What it misses: Microscopic biofilm too thin to feel; early-stage bacteria before they've created a tactile coating; mould spores embedded in the plastic rather than forming visible growth.
Test 4: The Taste Test (Baseline)
What it checks: Major off-flavours and obvious contamination indicators.
How to do it: Take a small sip of water from the jug. A clean jug's water should taste neutral—just like water. No plastic taste, no metallic tang, no flatness or sulphur notes, no bitterness or sourness.
What it means: Absence of major flavour changes indicates the jug isn't leaching chemicals and doesn't have advanced bacterial contamination producing metabolic byproducts.
What it misses: Most bacteria are flavourless and odourless at dangerous levels. Legionella, E. coli, and many pathogens taste completely normal. A good-tasting jug is not proof of safety. Never rely on taste as your primary safety metric.
Test 5: The Clarity Test (Pouring)
What it checks: Particle suspension and advanced biofilm breakdown.
How to do it: Pour water from the jug into a clear glass. The water should pour clear and remain clear. No cloudiness appearing after sitting for a few seconds, no particles settling at the bottom, no milky haze.
What it means: Clear pour-and-sit water indicates absence of suspended particulates and advanced biofilm fragmentation.
What it misses: Dissolved bacterial toxins (which won't cloud water), sub-visible bacterial counts, spores, and early-stage biofilm that hasn't created particles yet.
Your 5-Point Clean Jug Checklist
| Test | Pass Condition | Fail Condition (Clean Again) |
|---|---|---|
| Smell | No odour; just water | Any musty, sour, funky, or chemical smell |
| Visual | Clear water, smooth walls, no film | Cloudiness, visible particles, spots, or coating |
| Tactile | Smooth plastic surface, no slime | Slimy, sticky, or fuzzy coating on walls |
| Taste | Neutral, just water | Plastic taste, metallic, flat, or sour notes |
| Clarity | Clear poured water, no settling | Cloudiness, particles, or milky haze |
What These Tests Actually Guarantee
If your jug passes all five tests, you know:
- No visible mould or biofilm growth
- No advanced bacterial contamination producing obvious byproducts
- No significant particle or sediment buildup
- No chemical leaching or major off-flavours
What these tests do NOT guarantee:
- Absence of early-stage biofilm (first 5–10 days of growth)
- Absence of pathogenic bacteria below the sensory detection threshold
- Absence of bacterial toxins (which are odourless and tasteless)
- Microbiological safety by lab standards
In short: passing all five tests tells you the jug looks, smells, and tastes clean. It doesn't prove it's microbiologically safe.
The Honest Truth: Sensory Testing Has Limits
The gap between "sensory clean" and "microbiologically clean" is where real risk lives. Your jug can pass every sensory test while harbouring dangerous bacterial counts in the early, invisible stage of biofilm formation.
This is why food safety professionals don't rely on sensory testing alone. They rely on:
- Scheduled, proven protocols — regular cleaning on a fixed schedule, not conditional on appearance
- Antimicrobial chemistry with known kill rates — not just water and hope
- Preventive sanitation — removing contamination before it reaches detectable levels
- Consistency over intensity — weekly maintenance beats occasional deep cleans
How to Combine Sensory Tests With Real Safety
Here's the strategy that actually works:
- Use the 5-point test as a validation checkpoint — it catches obvious problems and gives you confidence about basic cleanliness
- Don't use it as your only safety metric — passing the test doesn't mean skipping your next scheduled cleaning
- Clean on a fixed schedule regardless — every 7 days with active sanitising chemistry, not based on how the jug looks
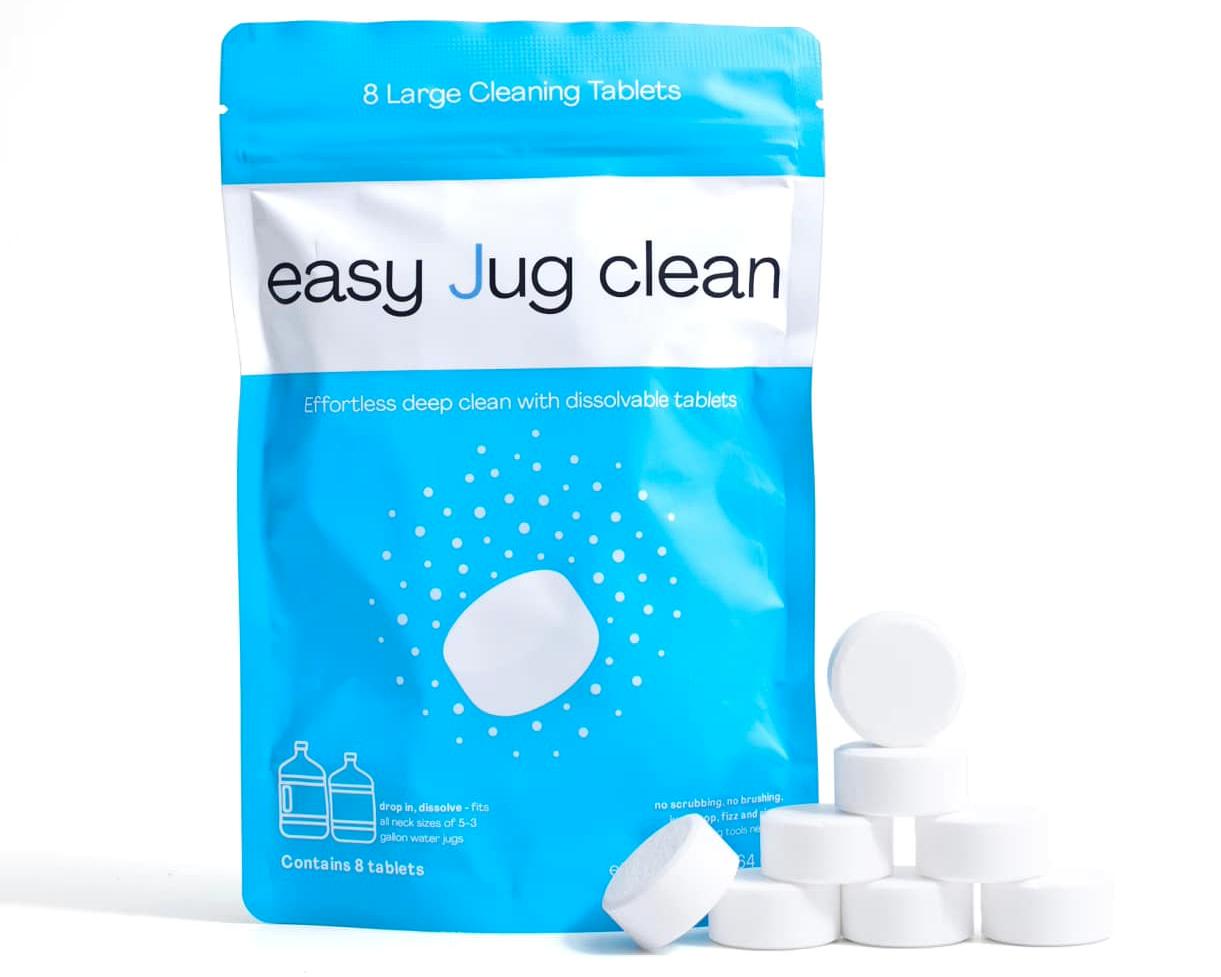
- Use chemistry that works — Easy Jug Clean tablets use active oxygen with proven kill rates, not just diluted vinegar or baking soda
When to Re-Clean Even If Tests Pass
If your jug fails any of the five tests, clean it again immediately. But there are also reasons to re-clean even if sensory tests pass:
- It's been more than 7 days since the last clean — invisible contamination may be underway
- The jug was stored in a warm location — bacterial growth accelerates with temperature
- The jug was used in an office that's been closed/unused — stagnant water in warm coolers accelerates contamination
- You notice any off taste or smell — this is a late-stage signal
- It's summer and you've shifted to more frequent cleaning — bacteria double faster in warm conditions
Bottom Line: Test Smart, Clean Smarter
The 5-point sensory test is a useful tool for catching obvious problems and validating basic cleanliness. But it's not a safety guarantee. The real protection comes from a consistent, scheduled sanitation routine with proven chemistry.
Use these tests to build confidence in your cleaning process. But don't use them as an excuse to skip your weekly schedule or to believe that "looks clean" is the same as "microbiologically safe."
Sensory Tests + Scheduled Sanitation = True Safety
Easy Jug Clean tablets give you verifiable cleaning power. Active oxygen kills what sensory tests can't detect—early-stage biofilm, invisible bacteria, and developing contamination.
Get Easy Jug Clean Now – /8 tablets
Watch Easy Jug Clean pass the clean water cooler jug test — in 20 minutes: