How Your Water Dispenser Probe Contaminates Every New Jug You Install
Reading time: ~8 minutes | Dispenser Probe Jug Contamination Water Safety
How Your Water Dispenser Probe Contaminates Every New Jug You Install
What the Dispenser Probe Is (And Why It Matters)
Your water cooler or dispenser has a sharpened probe — a hollow needle or spike that pierces the seal on top of your 5-gallon water jug. This probe serves a critical function: it creates a pathway for water from the jug to flow into the dispenser's internal reservoir and cooling/heating system. Without this probe puncturing the jug, water cannot enter the system.
The probe itself is typically made of stainless steel or plastic and is roughly 2-4 inches long. It's designed to cleanly penetrate the jug's plastic seal without leaving large gaps (to prevent water leakage around the seal). The design is functionally sound. The problem is what happens to the probe between jug changes.
The Contamination Timeline: How Biofilm Colonizes the Probe
Here's what happens in your dispenser between water jug changes:
Hours 0-4 (Right After Jug Removal)
When you remove your empty jug, the probe is exposed to air. If it was in contact with water before removal, the probe surface is now wet with residual water and biofilm coating. The exposed tip begins to air-dry, but the biofilm matrix remains attached to the probe's surface.
Hours 4-24 (Biofilm Multiplication)
Biofilm multiplies extremely rapidly in stagnant water conditions. The residual water on the probe surface becomes a perfect growth medium. Bacteria that were dormant in the biofilm matrix become active and begin reproducing. A single biofilm cell can divide into millions within 12 hours under the right conditions.
Your dispenser's internal probe area is often humid and contains standing water. This is ideal biofilm growth territory.
Hours 24-72 (Probe Becomes a Bacterial Reservoir)
By the time you install your next water jug, the probe has become a bacterial and mold spore reservoir. The exterior surface of the probe is now coated with a thin biofilm layer containing potentially pathogenic microorganisms. In many cases, biofilm in water dispensers harbors Pseudomonas aeruginosa and Legionella species — both serious health concerns.
The Moment of Contamination: Installation
You place your clean jug (just treated with Easy Jug Clean or scrubbed with a brush) on top of the dispenser. You align the jug's opening with the probe. The probe pushes through the foil seal and enters the jug's interior.
At that moment, the contaminated exterior surface of the probe makes direct contact with your freshly sanitized water. Any bacteria, mold spores, or biofilm on the probe surface transfers directly into the clean water.
This isn't a small contamination event. A single biofilm-covered probe can introduce thousands of bacterial cells into your jug in that single penetration moment.
The Recontamination Cycle
Once the probe has introduced contamination, the cycle repeats:
- Contaminated water flows from the clean jug into the dispenser's internal system.
- The dispenser's internal components (if not regularly sanitized) harbor additional biofilm.
- When water flows back toward the jug (in some dispenser designs) or sits in contact with the probe, the biofilm grows.
- After 3-5 days of your "clean" jug sitting on the dispenser, biofilm has reestablished itself inside the jug — sometimes at accelerated rates because the initial colonization came from a concentrated source (the probe).
- When you remove the empty jug, the probe is re-contaminated by biofilm from that jug.
- The cycle repeats with your next fresh jug.
This is why many people report that their jug tastes fine for the first few days but develops an off-taste or smell by day 4-5. The dispenser is the vector, and the probe is the delivery mechanism.
Why This Problem Is Overlooked
Most people think about cleaning the jug. Some think about cleaning the dispenser. Very few think about cleaning the probe specifically because:
- The probe is small and tucked inside the dispenser — out of sight.
- Manufacturers don't provide probe cleaning instructions.
- The contamination happens inside the jug, so people assume the jug itself is the problem.
- It's difficult to access and clean the probe without specialized tools.
This invisibility is exactly why it's such an effective contamination mechanism. The probe is contaminating your water every time you install a new jug, and you never see it happening.
Breaking the Cycle: The System Approach
To truly maintain clean water, you need to address the probe as part of a system. Here's how:
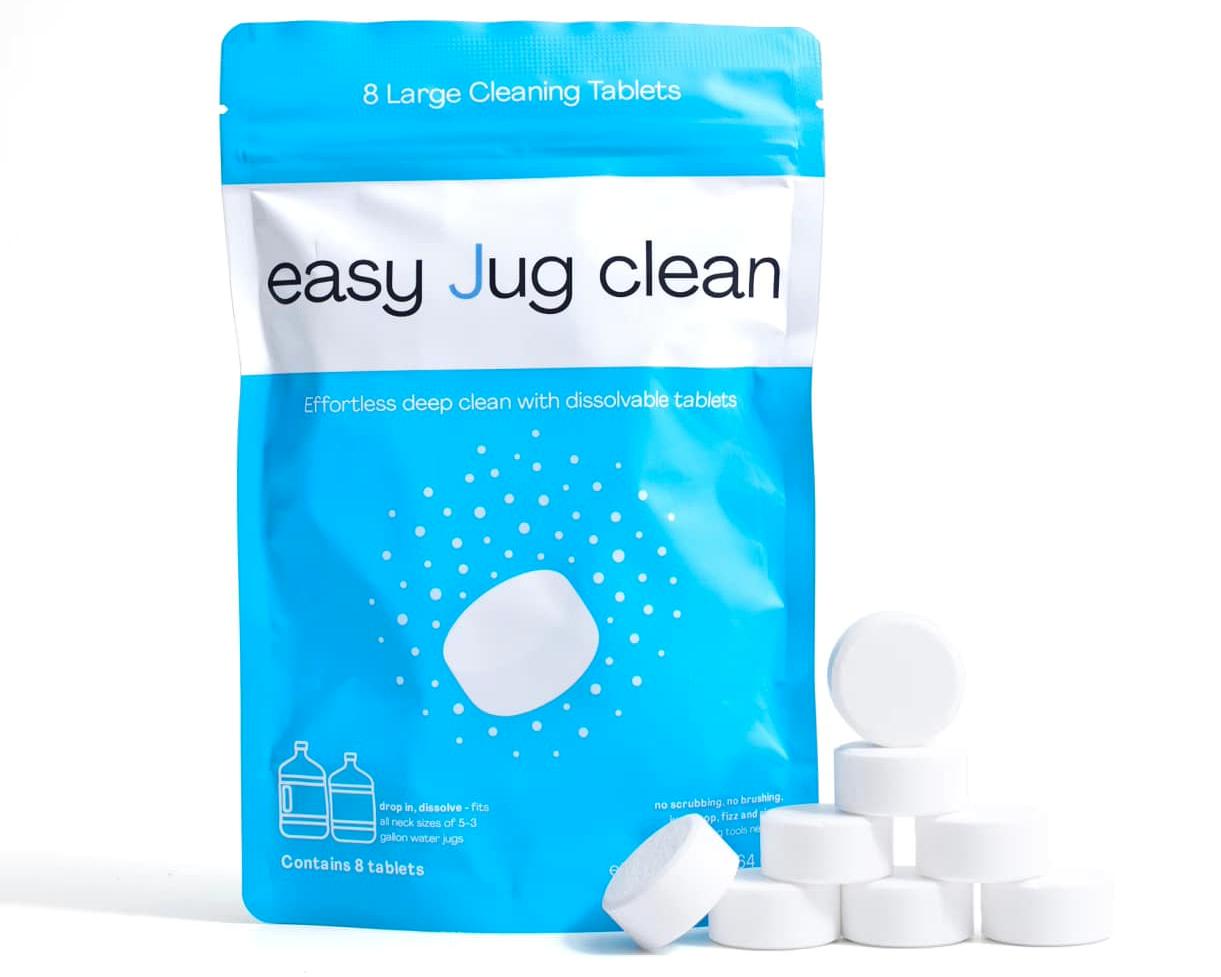
Step 1: Clean Your Jug With Easy Jug Clean
Before installing a jug, ensure it's treated with a food-grade sanitizer. Easy Jug Clean's active oxygen formula kills pathogens and breaks down biofilm matrix at a chemical level, not just mechanically removing it. This gives you the best starting point for your jug.
Step 2: Clean the Probe Surface
Before installing your clean jug, physically clean the probe. Use a clean, damp cloth or a cotton swab to wipe the probe's exterior surface thoroughly. If you can access the probe area, use a cloth dampened with a dilute bleach solution (1 part bleach to 10 parts water) to sanitize the probe surface. Allow it to air-dry completely before installing the jug.
This removes the biofilm layer that has accumulated since the last jug removal.
Step 3: Regular Dispenser Deep Cleaning
At least monthly, deep-clean your entire dispenser. This means cleaning the internal reservoir, spigots, and probe area with a food-grade sanitizer. This prevents the dispenser itself from becoming a biofilm reservoir that continuously re-contaminates your jugs.
Step 4: Jug Rotation and Timing
Don't let a jug sit on the dispenser for more than 5-7 days. Biofilm reestablishment happens within this window, even if you started with a perfectly clean jug. Many households that use water heavily (high consumption) benefit from a 3-4 day rotation, which keeps biofilm growth from reaching problematic levels.
Why Probe Contamination Defeats Brush Cleaning
If you've been cleaning your jug with a bottle brush, probe contamination explains why your jug still develops off-taste or smell within days. Brush cleaning is already ineffective (it doesn't kill bacteria, just displaces it), and probe contamination adds a fresh source of pathogens every time you install the jug.
The probe contamination is actually larger than the jug contamination at installation time. You could have a nearly pristine jug that's been contaminated by a heavily biofilm-laden probe. This is a losing battle if you're relying on manual brushing.
The System Solution: Tablets + Probe Hygiene + Dispenser Maintenance
The only way to break the cycle is to treat water jug sanitation as a system:
- Tablets for the jug: Fast, chemical, kills pathogens, breaks down biofilm.
- Probe maintenance: Simple wipe-down before each installation.
- Dispenser maintenance: Deep clean monthly or bimonthly.
If you skip any one of these three elements, contamination will return. The probe is often the overlooked component that derails an otherwise solid cleaning routine.
Frequently Asked Questions
Q: Can I replace the probe to solve this problem?
Some dispensers allow probe replacement, but it's not a standard DIY task. You'd need a replacement probe compatible with your specific dispenser model, and installation requires care to avoid damaging the dispenser. For most users, routine probe cleaning is simpler and more practical. Contact your dispenser manufacturer if you want to explore replacement options.
Q: How often should I clean the probe?
Clean the probe every time you remove a water jug and before you install a new one. This takes 30-60 seconds. It's the simplest and most effective way to break the contamination cycle. If you change your jug 1-2 times per week, you're cleaning the probe 1-2 times weekly, which is adequate to prevent biofilm buildup.
Q: What's the best way to clean the probe without damaging the dispenser?
Use a clean, soft cloth or cotton swab dampened (not soaked) with either plain water or a dilute bleach solution (1:10 ratio). Wipe the exterior surface of the probe thoroughly. Avoid excessive force or abrasive materials (like scrubbing brushes) which could damage the probe or dispenser seals. Allow the probe to air-dry before installing a new jug.
Q: If I clean the probe, do I still need to use Easy Jug Clean on my jug?
Yes. Probe cleaning removes contamination from the probe itself, but it doesn't guarantee your jug is free from biofilm that may have established before you started the system approach. Use Easy Jug Clean to treat each jug when you install it. Over time (a few cycles), your system will reach a cleaner equilibrium because you're preventing new contamination introduction at every step.
Stop the probe from recontaminating your clean water.
✅ Clean Jug + Clean Probe = Clean Water
Easy Jug Clean eliminates biofilm in your water jug while you handle probe maintenance. Together, they break the recontamination cycle that defeats most cleaning efforts. Treat every jug, wipe the probe every installation.