How to Clean a Bottom-Loading Water Dispenser (And Why the Jug Still Comes First)
Reading time: ~8 minutes | Bottom-Loading Dispenser Cleaning Guide Water Jug
How to Clean a Bottom-Loading Water Dispenser (And Why the Jug Still Comes First)
Why Bottom-Loading Dispensers Are Higher-Risk
Before cleaning, understand why bottom-loaders need special attention:
The Jug Sits in a Warm, Humid Environment
In a top-loader, the jug sits inverted in a cooler upper chamber. In a bottom-loader, the jug sits upright in a warm, enclosed cabinet space. This enclosed area traps moisture and heat—creating ideal conditions for bacterial growth and mold proliferation. The plastic jug itself doesn't breathe, so internal condensation accumulates.
Water Must Be Pumped Upward
Gravity-fed systems (top-loaders) are simpler: water flows down naturally. Bottom-loaders use a pump to push water up through tubing. This tubing becomes a contamination pathway. If the tubing develops biofilm, every ounce of water that flows through it picks up bacteria. And tubing is notoriously difficult to clean—you can't reach inside with a brush.
The Pump Creates Additional Contamination Risk
The pump itself can harbor biofilm. Bacteria colonize the pump impeller, valve seats, and internal passages. When the pump activates, it sends biofilm fragments and bacteria directly into your water stream. This is called "pump-mediated biofilm dispersion."
Cabinet Moisture Enables Mold and Bacterial Growth
The cabinet space where the jug sits is often damp and dark—perfect for mold. Mold spores can contaminate the jug's exterior, and if they enter the system, they compound the contamination problem. Additionally, the wet cabinet environment allows bacteria to thrive on surfaces between jug changes.
The Priority Order: Why the Jug Comes First
You might think: "My dispenser is the contamination source, so I should clean it first." Wrong. Here's why jug cleaning must come first:
If you clean your dispenser but not your jug: The contaminated jug reintroduces bacteria into your freshly cleaned system. The dispenser pump immediately becomes recontaminated. You've wasted effort.
If you clean your jug but not your dispenser: You get clean water in your jug immediately. Over time, the dispenser system contaminates the jug, but you have days or weeks of safe water. Regular jug cleaning prevents the recontamination cycle.
The correct sequence: Clean the jug first (because it's your primary drinking source), then clean the dispenser (to prevent recontamination). If you're in a situation where both are heavily contaminated, clean the jug first, use it for several days with daily jug cleaning, then tackle the dispenser system.
Complete Bottom-Loader Cleaning: Step-by-Step
PART 1: Jug Cleaning (Do This Immediately and Every Jug Change)
PART 2: Dispenser Cabinet and Valve Cleaning (Weekly)
PART 3: Pump and Tubing System Deep Clean (Monthly)
Bottom-Loader Monthly Maintenance Checklist
| Task | Frequency | Details |
|---|---|---|
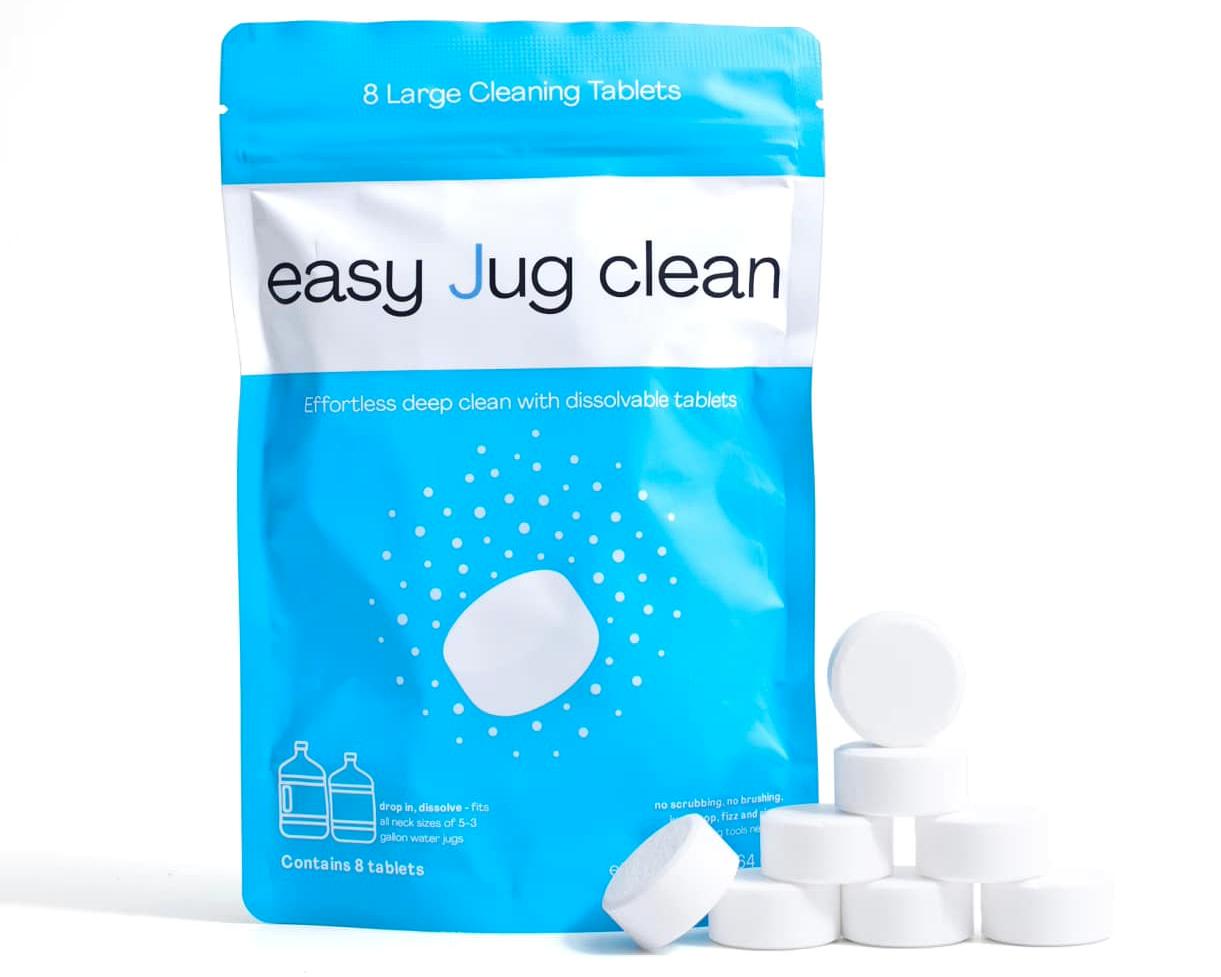
| Clean jug | Every jug change (weekly–biweekly) | 2 Easy Jug Clean tablets, 20 minutes, complete |
| Wipe spigot | Twice per week | Damp cloth, remove visible biofilm |
| Empty cabinet | Once per week | Remove standing water, check for mold |
| Clean valve and intake | Once per week | Vinegar solution, all puncture points |
| Inspect tubing | Once per month | Look for biofilm discoloration inside tubes |
| Deep clean pump/tubing | Once per month | Flush system, address biofilm in sealed components |
| Wipe cabinet walls | Once per month | Clean mold if present, dry thoroughly |
Why Bottom-Loaders Benefit Even More from Tablets
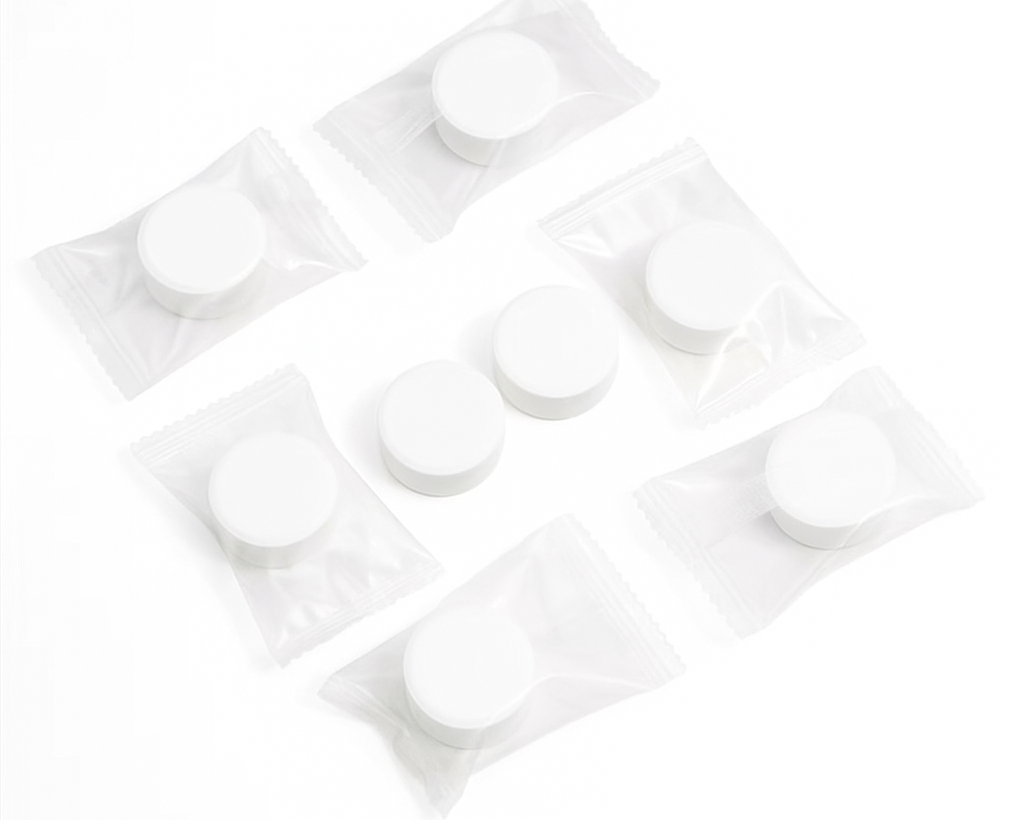
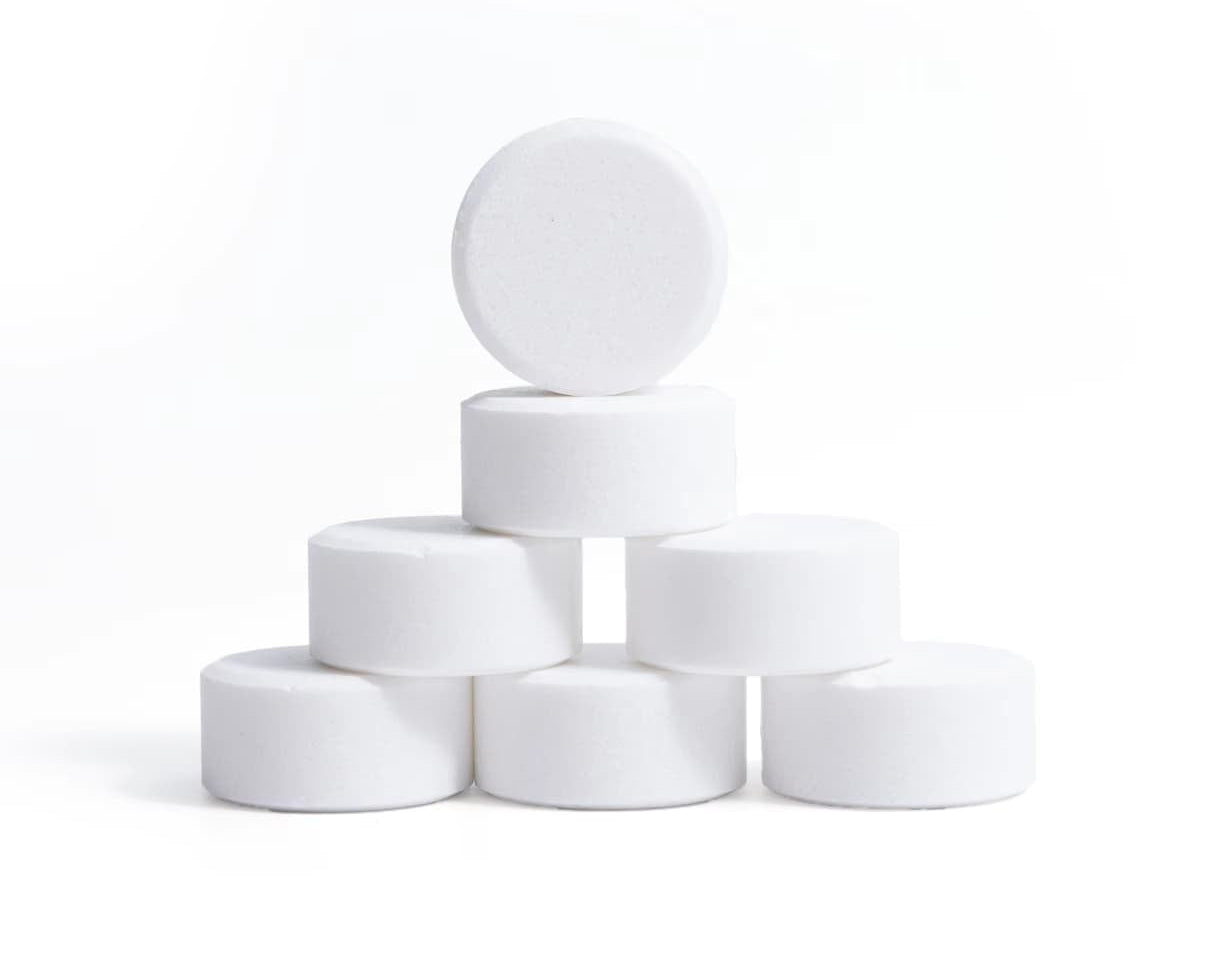
Hand-cleaning a bottom-loader is complicated because you can't easily access internal components and tubing. Fizzing tablets clean water jugs better than brushes because they distribute cleaning power chemically rather than mechanically. For the jug component (your primary drinking source), Easy Jug Clean eliminates the need for manual scrubbing entirely.
For bottom-loaders specifically, this matters because:
- The fizzing action doesn't require you to agitate the jug (important for heavy 5-gallon containers)
- The chemical penetration reaches biofilm in spots where swirling a brush can't (the jug's narrow neck and curves)
- You can clean the jug on a consistent schedule without physical strain or mess
- Regular jug cleaning prevents the pump recontamination cycle by keeping the input water clean
Clean the jug. Protect the system. Keep your water safe.
✅ Simplify Bottom-Loader Jug Cleaning
Bottom-loaders have unique contamination challenges, but Easy Jug Clean eliminates jug-side risk completely. Drop two tablets at every jug change, and you've prevented the primary recontamination vector. The dispenser stays cleaner because clean water is entering it.
Frequently Asked Questions
Q: My bottom-loader seems to leak water from the cabinet. Is this dangerous?
Leaking water in a warm cabinet is a mold and bacterial growth accelerator. Address the leak immediately—it's usually a loose tubing connection or valve issue. In the meantime, wipe out standing water daily and ensure the cabinet area is dry. This is a priority maintenance issue.
Q: Can I use bleach to clean the cabinet area of my bottom-loader?
Yes, for mold treatment in the cabinet, a diluted bleach solution (1 part bleach to 10 parts water) works. However, ensure no bleach solution contacts the jug, tubing, or dispense valve. Bleach should never be used inside the dispenser system itself—only in the external cabinet area. Rinse thoroughly afterward.
Q: Do I need to unplug my bottom-loader every time I do monthly deep cleaning?
Yes. If you're accessing internal components like the pump or tubing, always unplug first. Safety is non-negotiable. Some dispenser models have a water shutoff valve—if yours does, use it. Unplugging ensures the pump doesn't activate unexpectedly during cleaning.
Q: My bottom-loader manual doesn't mention how to access the pump area. What do I do?
Consult the specific manual for your dispenser model—it should have a service section. If the manual doesn't provide clear instructions, contact the dispenser manufacturer's customer service. Alternatively, hire a professional water cooler service technician. Don't attempt disassembly if you're unsure—damage is expensive.